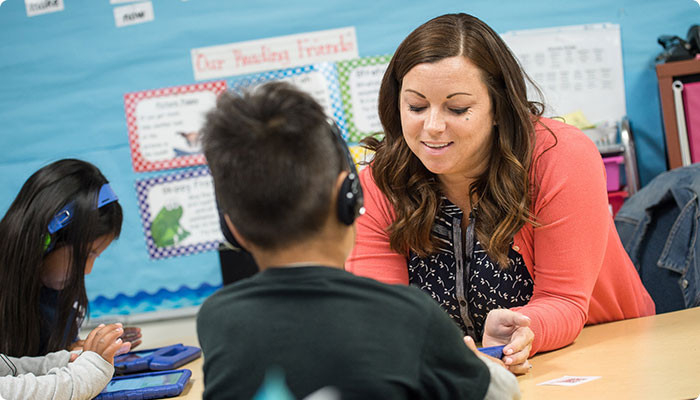
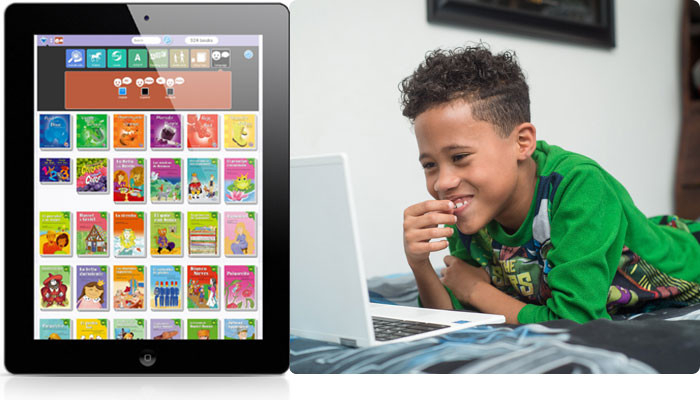
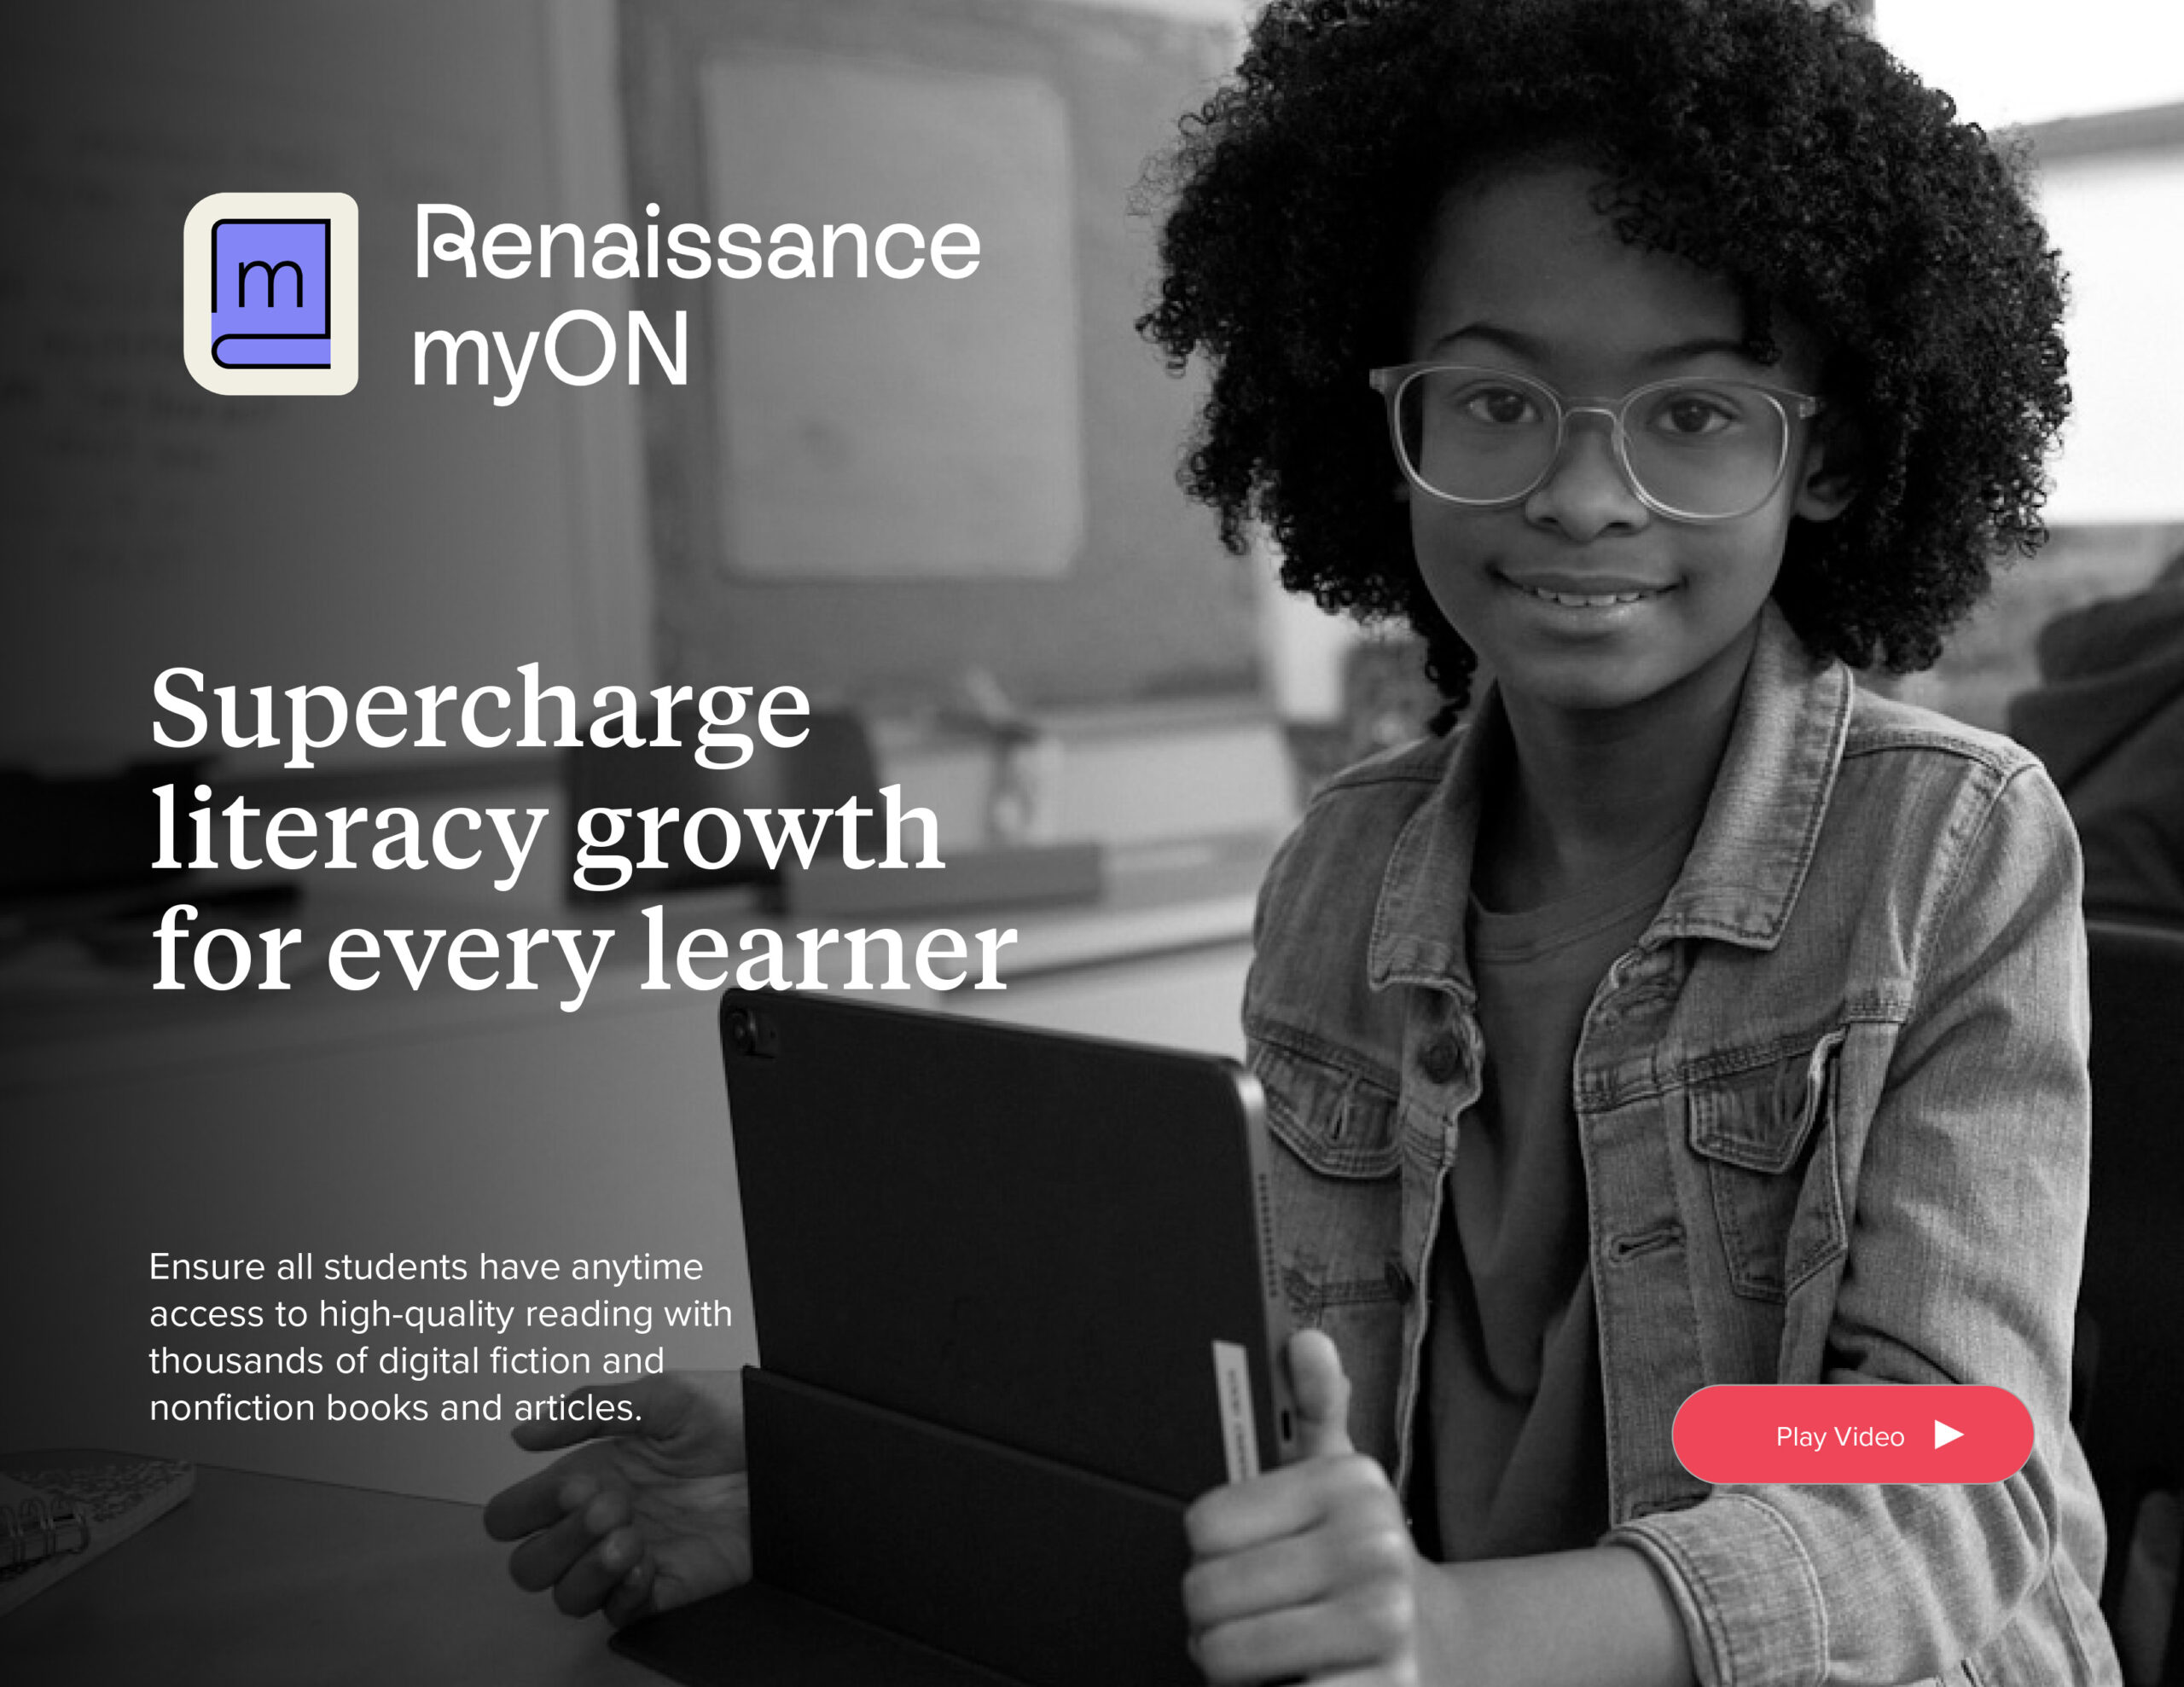
Welcome! OptinMonster makes it easy to create your first campaign and start converting traffic into leads and customers.
In this article, you’ll learn how to create your first OptinMonster campaign.
Our conversion experts will design 1 free campaign for you to get maximum results – absolutely FREE! Click here to get started →
Before You Start
Here are some things to know before you begin:
- This guide starts with creating a Lightbox Popup campaign. If you’re interested in learning how to create other types of campaigns see our dedicated guides for creating Fullscreen, Floating Bar, Inline, Slide-In, and Gamified campaigns.
- As you use the campaign builder you’ll notice many options have a question mark icon. Clicking the question mark icon will show you more information about what that option controls or how to use a specific tool.
Create a Campaign
To begin using OptinMonster on your website to generate leads you’ll want to create a campaign.
To create a new campaign, follow these steps:
- From the Campaigns screen, select the Create New Campaign button.
- Next, select Popup as the campaign type. You’ll be shown the available templates for the Popup type campaign, choose one to begin building your campaign.
- Next, browse the Campaign Templates to locate one you would like to use. Once you find a campaign you’d like to use, select the Use Template button.
For this example, we will use the template Small Business Saturday.
- Pro Tip: you can preview any template before you choose to use it by selecting the Preview button instead.
- On the next screen, give your new campaign a descriptive title and assign it to the site(s) you would like it to appear on then select the Start Building button.
- The campaign builder will now open with your new campaign, ready to be customized.
Design Your Campaign
When you first enter the builder to edit your new campaign, you will see the Design view. This is where you can edit your campaign’s text, fields, and other elements. Check out our Builder Overview guide to learn more about the layout of the builder, and all of the settings available in the Design view.
There are many ways you can customize your campaign. For this first campaign, we will keep things simple by only changing the text of the Optin and Success views to match your offer, and adjusting the optin fields and button. Once you know how to edit these elements, all other design elements work similarly, and you can create any design you like!
Edit Text
Use text elements in your campaign to make your offer to visitors, and tell them how to take action. Often, popup campaigns have a headline to catch the attention of the visitor, and then add body text to give more detail.
To edit the styling of your text (font style, weight, spacing, color, etc), highlight the text within any text block you would like to edit to make the text edit toolbar appear. Adjust any text styles you need.
You can add more text blocks to your campaign by returning to the home panel and dragging a text block into the campaign where you want it to appear.
You can delete any unwanted block from your campaign by hovering over it and selecting the trash icon.
After changing the text in the campaign’s Optin view, let’s modify the Success view by selecting the Success button from the footer bar.
You can modify the Success view design the same way you edited the Optin view previously. If you’ve made significant changes to the design of the Optin view you would like to incorporate into the Success view you can import them into your Success view.
When you’re finished, return to the Optin view of your campaign.
Edit Fields
You can use optin fields to gather lead information to send to your Email Service Provider.
OptinMonster’s native integrations allow you to collect Name, Email Address, and Phone Number. You can also add a Privacy Statement and checkbox.
- From the Design view of the campaign builder, directly select the Optin Fields block to edit it.
- In the left sidebar, click on the pencil icon next to any field to edit the placeholder text, and styles.
- Select the Add New Field button to add a field that is not already part of the campaign.
- You can reposition the field by selecting the three vertical dots icon and dragging it into the order you prefer.
- If a field is present on your campaign that you do not want to use, click the trash icon next to it in the left sidebar to remove it. Note that the Email Field and Submit Button are always required.
- To change the form field styles select the Advanced tab in the sidebar panel and expand the Form Field Styling option.
- From the Content tab expand the Submit Button option to adjust basic settings for your button and control what action takes place when the form is submitted. You’ll find more options for the Submit Button in the Advanced tab as well.
- Confirm that Conversion Tracking is enabled. This is what allows each click of the submit button to be counted as a conversion, so you can see how many visitors have completed your campaign.
- When you are finished, Save your campaign.
You’ve now edited the essential elements for your campaign’s design! You can move on to setting your Display Rules, or further customize the design of your campaign. These are some of the most popular changes users will make:
- How to Add or Replace an Image
- How to Change the Background Color or Image
- How to Change the Background Overlay Color or Transparency
- How to Change the Submit Button Action
- How to Add a Countdown Timer
- How to Add or Remove Extra Space (Padding and Margins)
- How to Remove the “Powered by OptinMonster” Badge
Display Rules
Next, you’ll use Display Rules to configure when, where, and for whom your campaign will appear on your site. To put it another way, the Display Rules are what trigger your campaign to show to visitors. There are countless display rule configurations you can create, and you can create simple or complex rulesets based on your own specific needs.
To set your Display Rules, follow these steps:
- Select the Display Rules option from the top menu of the campaign builder.
- The default rules for your new campaign will read “If… time on page is at least 5 seconds AND current URL path is any page.” This means that if a visitor is on any page of your site for at least 5 seconds, both of these conditions are met, and the campaign can show.
- To change the default settings select the Edit button.
- Select which type of new rule you would like to add by choose OR or AND as the connecting statement.
- Click on the Select Rule dropdown to open the Display Rules menu. Here you can search for and select the rule you would like to configure. You can learn more about all of our Display Rules in our guide here. For this example campaign, the rules have been adjusted to show this campaign if exit is detected from any page where the URL contains “blog.”
- After setting the Display Rules for your campaign, click Save.
Integrations
The Integrations View is where you will connect OptinMonster to your email service provider. In other words, this is how you make sure the leads you gather with your optin campaign get added to your email list!
Each new OptinMonster campaign is automatically connected to Monster Leads. Monster Leads is our “in house” lead storage system, which allows you to get started gathering leads if you don’t have an email marketing service set up yet. It’s also a great backup to your email service provider, just in case.
To connect your email integration, follow these steps:
- Select the Integrations option from the top menu.
- Monster Leads is already connected to any campaign that is collecting leads. You can click on it to adjust its settings, including how often you are notified about new leads, and if you want to add any tags to your leads from this campaign.
- To connect to your email marketing service, click Add New Integration.
- Select your provider from the dropdown list of our native integrations. We connect with most major email service providers, Zapier, and offer a Custom HTML integration option so you can add your own custom form code.
- Follow the steps for your selected integration to connect your campaign. After connecting your integration for the first time, you’ll be able to quickly select your account and list from the dropdown menus for future campaigns.
- When you’ve finished connecting to your integration, click Save.
Analytics
The Analytics View is where OptinMonster allows you to connect your campaigns to Google Analytics to view more advanced analytics data.
OptinMonster Analytics will automatically track basic analytics data (impressions, conversions, and highest converting pages). If you would like to connect to your Google Analytics account, you can follow our guide.
Publish the Campaign
The Publish View is where you will do a final review of all the details of your campaign, and publish it to your site! When you create a new campaign, it’s “paused” by default, and will not appear on your site. When you are ready, you will publish it, or send it to your website, allowing it to appear for visitors who trigger it.
To publish your campaign, follow these steps:
- Select the Publish View from the top menu.
- On the Publish View, you can do a final check to make sure that your campaign is ready to go. Check the right column’s checklist for any grey circles next to items, letting you know that something is missing, or may need to be fixed before publishing.
- When you are ready, click Publish to make your campaign live.
- Finally, Save your campaign.
If you have not yet added the OptinMonster embed code to your site or activated our WordPress plugin, then you have one more important step to take.
Connect Your Website
The Publish View contains all the codes or instructions you will need to connect OptinMonster to your website. To connect to your website, follow these steps:
- Navigate to the Platforms area of the Publish View. There are a number of options, but you will only need one, depending on what platform your website is built on.
- Select Any Site to access your Global Embed code. This is the code you will place on your website to allow OptinMonster to show campaigns. Check out our platform guides for more details.
- If your website is built with WordPress, click on WordPress. Here, you will find instructions and the link to install and activate our plugin. Note: After publishing a new campaign for the first time, you will need to visit the plugin to configure any additional Output Settings and Go Live. After the first time, your campaign will Auto-Sync with its status in the OptinMonster app.
- If you are using OptinMonster on a Shopify site, BigCommerce site, or with WooCommerce, you can select the matching option to view the instructions to connect, as well.
Congratulations, you’ve created and launched your first OptinMonster campaign!
If you’re serious about jumpstarting your eCommerce business growth, then get started with OptinMonster today!
Our conversion experts will design 1 free campaign for you to get maximum results – absolutely FREE! Click here to get started →